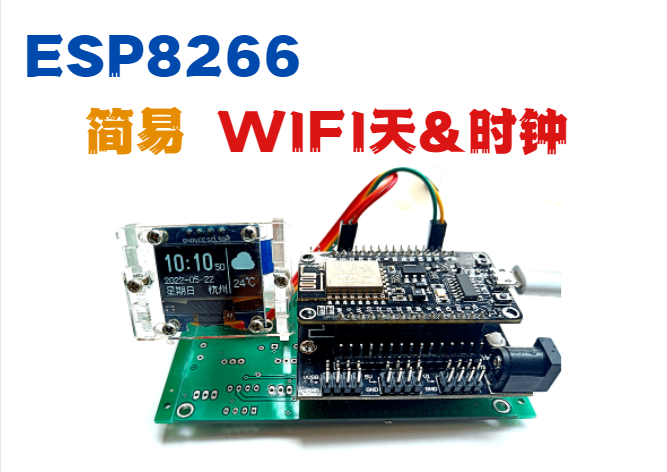
本篇介绍ESP8266在OLED上播放视频:
电脑端Python程序作为视频数据的服务器,借助OpenCV实时读取视频帧,并进行二值图像转换,尺寸调整,再将二值图像转为数组,并以二进制形式的数据通过socket方式无线发送给ESP8266。
ESP8266采用Arduino IDE编程,借助U8g2库,将图像数据实时显示到OLED屏幕中。
1 ESP8266端视频帧接收与播放程序 ESP8266作为socket客户端,接收服务端发送的图像帧数据,进行显示。
ESP8266使用Arduino IDE环境进行开发。
1.1 WIFI初始化与服务器连接 1 2 3 4 5 6 7 8 9 10 11 12 13 14 15 16 17 18 19 20 21 #define IP "192.168.5.100" #define PORT 8080 void initWiFi () Serial.print("Connecting WiFi..." ); WiFi.mode(WIFI_STA); WiFi.begin(ssid, pass); while (WiFi.status() != WL_CONNECTED) { delay(500 ); Serial.print("." ); } Serial.println("" ); Serial.println("WiFi connected" ); Serial.println("IP address: " ); Serial.println(WiFi.localIP()); client.connect(IP, PORT); }
1.2 视频显示主循环 1 2 3 4 5 6 7 8 9 10 11 12 13 14 15 16 17 uint8_t testb[1024 ] = {};void loop () delay(10 ); while (client.available()) { delay(12 ); client.read(testb, 1024 ); u8g2.firstPage(); do { u8g2.drawXBM(0 , 0 , 128 , 64 , testb); } while (u8g2.nextPage()); } }
2电脑端视频编码发送程序 电脑端作为socket服务器端,将视频帧数据发送出去。
电脑端采用Python3编程,借助OpenCV实现视频的读取与图像数据格式转换。
2.1 主程序 程序的基本思想是:
利用OpenCV读取视频文件
对视频帧的图像,进行尺寸修改
对图像进行二值化处理
将二值图像转换为数组
将数组通过socket发送出去
1 2 3 4 5 6 7 8 9 10 11 12 13 14 15 16 17 18 19 20 21 22 23 24 25 26 27 28 29 30 31 32 33 34 35 36 37 38 39 40 41 video_path="badapple_320240_xvid.mp4" def PlayVideo(video_path, client): endian = 'L' color_reverse = 'false' c = 0 #累计帧数 timeF = 8 #隔x帧截一次图 video = cv2.VideoCapture(video_path) #打开视频 player = MediaPlayer(video_path) #打开音频 while True: grabbed, frame= video.read() audio_frame, val = player.get_frame() if not grabbed: print("End of video" ) break if cv2.waitKey(28 ) & 0xFF == ord("q" ): break cv2.imshow("Video" , frame) if val != 'eof' and audio_frame is not None: img, t = audio_frame if (c % timeF == 0 ): # 每隔timeF帧进行存储操作 frame = cv2.resize(frame,(128 ,64 ))#调整尺寸 frame = binary_image(frame)#二值化 matrix = img_to_matrix(frame, endian, color_reverse) data = bytes(matrix) client.send(data) c = c + 1 #time.sleep(0.2) #cv2.waitKey(1 ) video.release() cv2.destroyAllWindows() ############### client = 0 client = socket_start() PlayVideo(video_path, client)
2.2 图像转为数组 利用OpenCV,将图像转为黑白图像:
1 2 3 4 5 6 7 def binary_image (image) :#将图像处理为二值化的程序 gray = cv2.cvtColor(image, cv2.COLOR_RGB2GRAY) #把输入图像灰度化 h, w =gray.shape[:2 ] m = np.reshape(gray, [1 ,w*h]) mean = m.sum()/(w*h) ret, binary = cv2.threshold(gray, mean, 255 , cv2.THRESH_OTSU) return binary
然后再转为数组:
1 2 3 4 5 6 7 8 9 10 11 12 13 14 15 16 17 18 19 20 21 22 23 24 25 26 27 28 29 30 31 32 33 34 35 36 37 def img_to_matrix (frame, endian, color_reverse) : width = frame.shape[1 ] #128 height = frame.shape[0 ] #64 if endian == 'B' : byte_reverse = True else : byte_reverse = False if color_reverse == 'true' : color_reverse = True else : color_reverse = False unalign = 0 matrix = list () if (width%8 ) != 0 : unalign = 1 for i in range(0 , height): #64 for j in range(0 , (width v = 0x00 rs = 8 *j re = 8 *(j+1 ) if re > width: re = width for k in range(rs, re): if frame[i, k] != 0 : if not byte_reverse: v |= (0x01 << (k%8 )) else : v |= (0x01 << (7 -(k%8 ))) if color_reverse: v ^= 0xff matrix.append(v) return matrix
2.3 开启socket服务 1 2 3 4 5 6 7 8 9 10 11 12 13 14 15 16 17 18 19 20 21 def socket_start () : s = socket.socket(socket.AF_INET, socket.SOCK_STREAM) host = socket.gethostbyname(socket.gethostname()) port = 8080 host = '192.168.5.100' print(host) print(port) s.bind((host,port)) s.listen(5 ) print('等待客户端连接中…' ) client,client_address = s.accept() print('新连接' ) client_IP = str(client_address[0 ]) print('IP:' +client_IP) client_port = str(client_address[1 ]) print('Port:' + client_port) return client
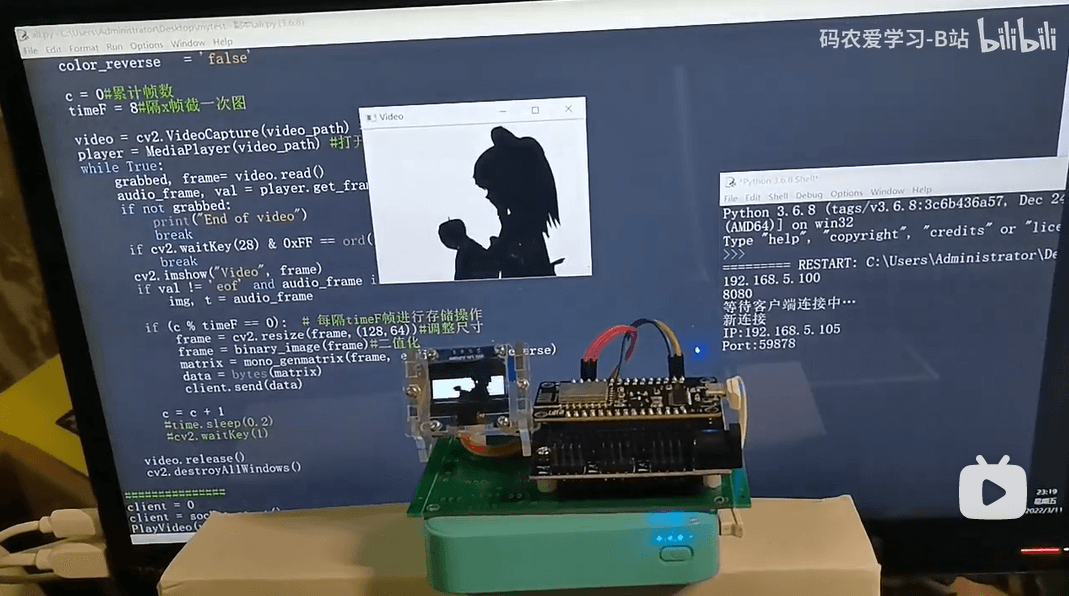
3 测试效果 https://www.bilibili.com/video/BV11S4y1S7ir
4 总结 本篇介绍ESP8266在OLED上播放视频,包括ESP8266端的图像接收与显示程序,与电脑端的Python读取视频并进行编码与数据发送程序。